Create a One Touch™ (Standalone) envelope
Navigation
Introduction
Creating a digital signing envelope is straightforward and hassle-free with Hutly One Touch™ providing a familiar user experience for those already using One Touch™ in VicForms.
Add New
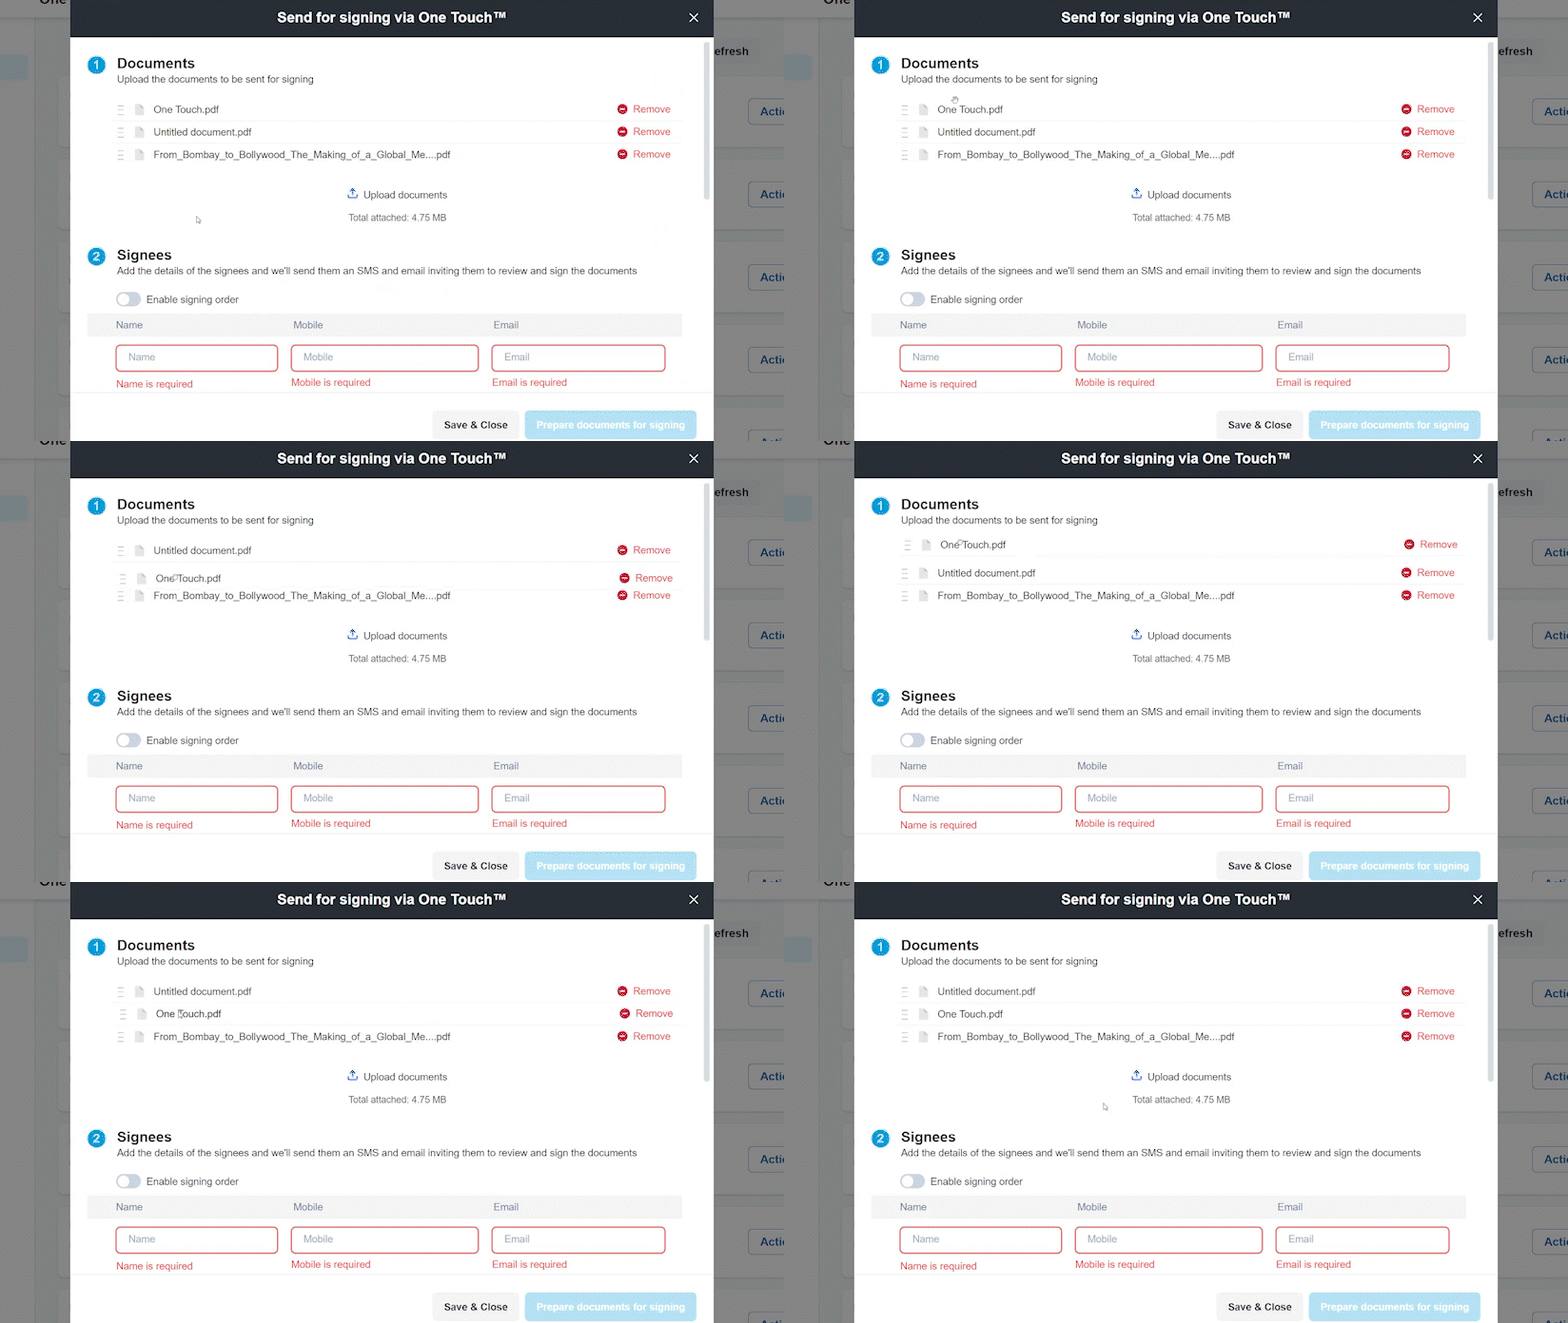
Select Add New to open up the Send for Signing modal and get started

Upload documents
Select Upload documents to open your file browser and choose your PDF documents to upload.
Documents can be re-organised by dragging and dropping in the preferred order.

Signees
Enter your signee Name, Mobile and Email in the corresponding fields. These will relate to the signing fields on your document.

The mobile number and email will run pre-validation checks to help ensure your details are correct
Signees can be easily added by clicking Add Signee
A signing order can be enabled to dictate the sequence that signees receive and sign your document


Envelope Details
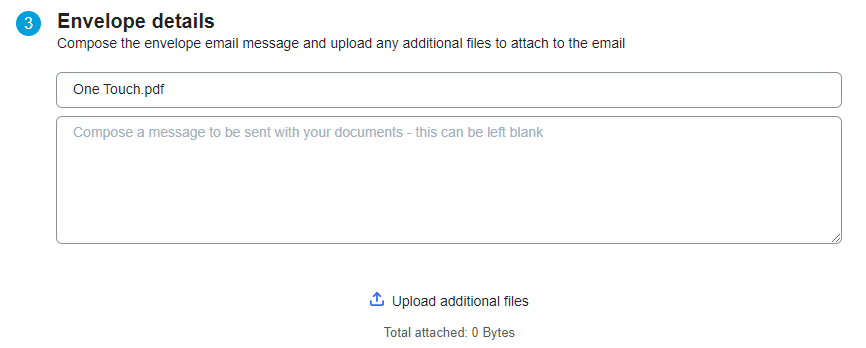
With One Touch™ you can compose a custom message and subject to be sent to your signees. This message can contain additional files as attachments that do not need to be signed.

Your Envelope name will default to the name of the first document uploaded and it is recommended this is updated to something more personalised

Track progress
Similar to VicForms, you are able to nominate a contact to be updated on the signing of your document.
Enter their details in the corresponding fields.

Prepare documents for signing
When the envelope is ready to be created you can select Prepare documents for signing to proceed to the document preparation stage.

Save & Close
If you are not yet ready to prepare your document for signing you can select Save & Close to save the details of your envelope to be able to continue later.
